This week I focused more on my neck. The back of the neck still had ridges in it so I decided to sand down it with a 80 grit sandpaper. While I was sanding down the ridges, I noticed that I wanted my headstock to be more round. I decided to hand sand the headstock for the first few days. However, I was not achieving the look I wanted. I decided to use a sanding machine found in my school’s wood’s room. The machine rotated on a spindle with sandpaper on it. I put my headstock on the machine to round out some of the sharper edges. I learned how to sand out the sharp edges.
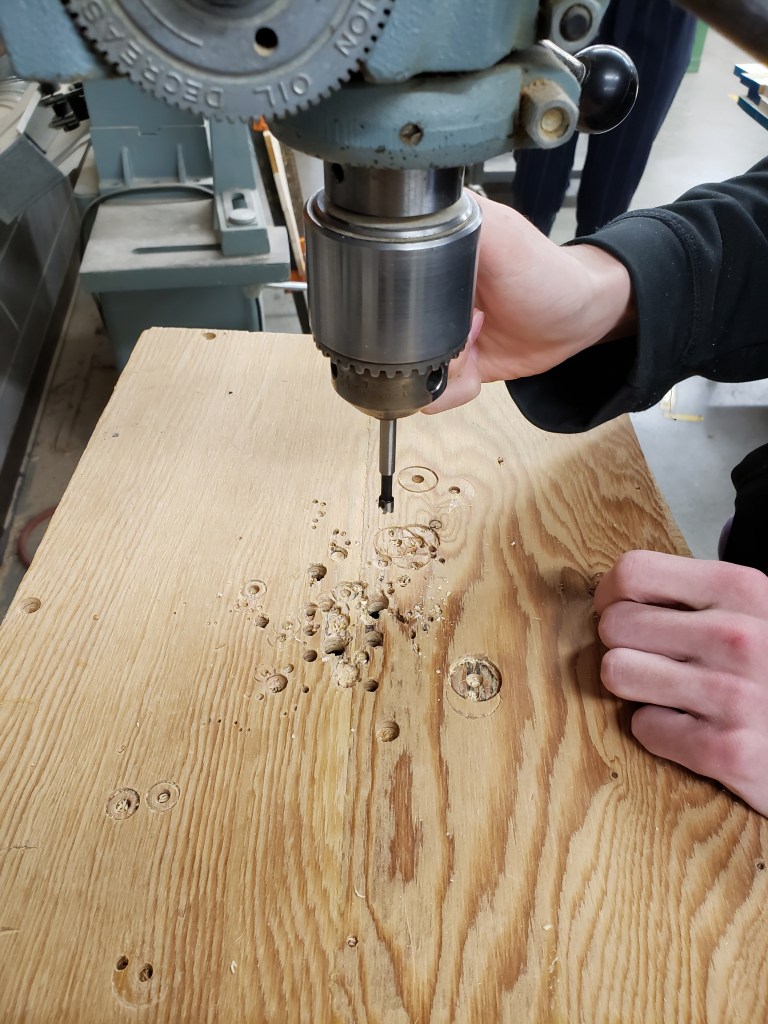
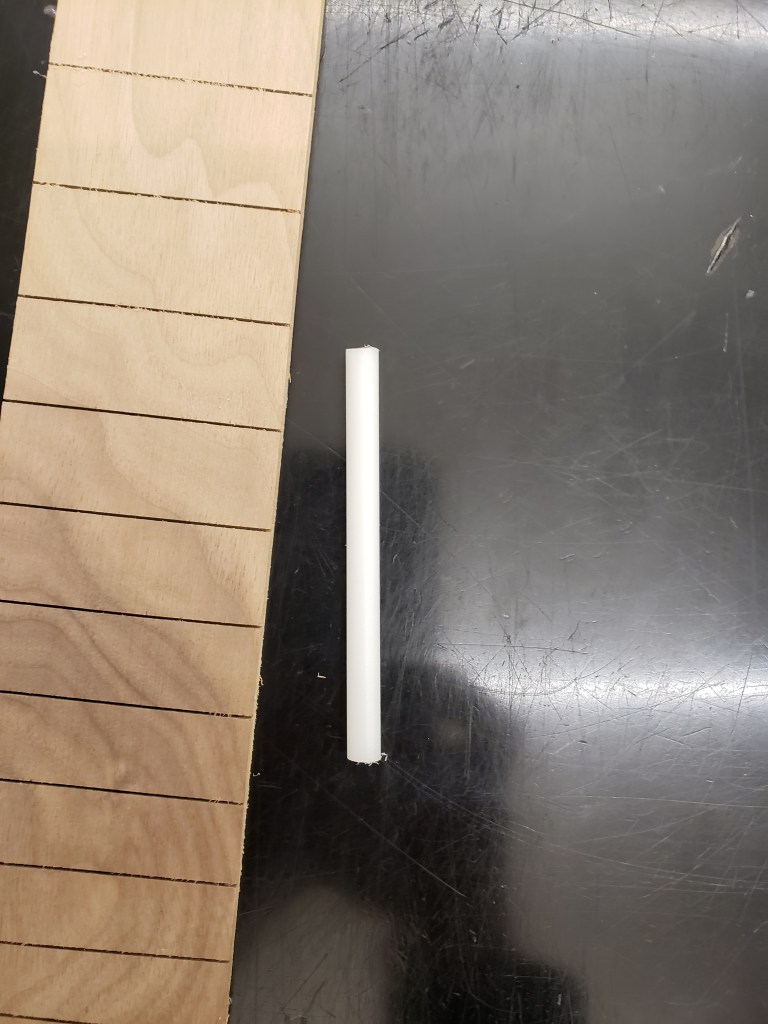
The next week, I began working on my fretboard. To begin, I had to drill holes to put my fret dots in. I used a round bit to do this and I went down about half an inch into the wood. I learned how to drill holes into the fretboard. After that, I began putting in my fret dots. I did this by super gluing the end of my plastic, fretdot stick and placing it in the holes. I used a saw to cut off the excess plastic and repeated doing this until all the holes were filled. After that, I put in the truss rod in my neck. I hammered in the rod by using a hammer. I glued my fretboard to the neck. I had to measure to align my neck and board correctly. I put clamps on it to keep it glued together.
Until next time, this is Amateur Guitar Builder signing off.